
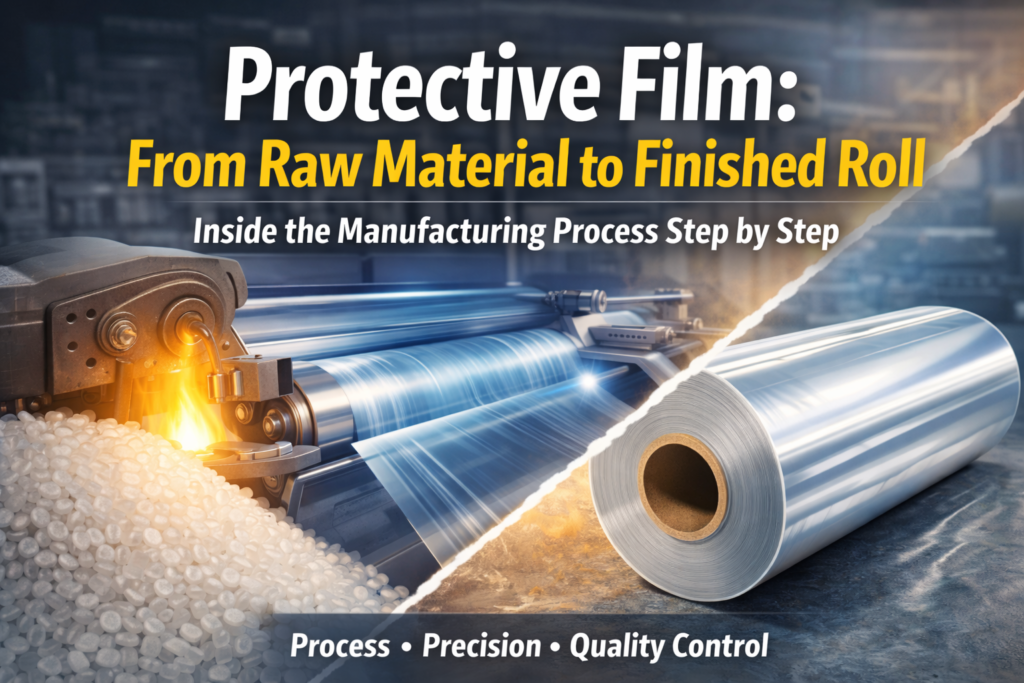
Most people peel off a protective film without giving it a second thought. But behind that thin, transparent layer is a carefully controlled manufacturing process that involves polymer chemistry, precision coating, and quality testing at every stage. Whether it’s protecting a stainless steel panel during transit or keeping an aluminum composite surface scratch-free on a construction site, the film has to perform reliably every single time.
This post walks through how protective films are actually made, from the raw materials going in to the finished rolls coming out.
What Raw Materials Go Into Surface Protection Film Production?
The quality of any protective film starts with what it’s made from. Here’s what matters at the input stage.
Base Polymer Resins
The backbone of most surface protection films is polyethylene (PE), typically Low-Density Polyethylene (LDPE) or Linear Low-Density Polyethylene (LLDPE). These resins are chosen for their flexibility, transparency, tear resistance, and ability to bond with adhesives without becoming brittle.
For applications that need higher temperature resistance or more mechanical strength, manufacturers may use polypropylene (PP) or multi-layer combinations of both.
The resin grade matters a lot. Industrial-grade polyethylene used in surface protection film production is evaluated for melt flow index (MFI), density, and molecular weight distribution. Small changes in these properties can affect how well the film stretches, how clean it removes, and how consistent the adhesive bond is.
Adhesives
The adhesive layer is what makes a protective film actually useful. Most surface protection films use one of two adhesive systems:
Acrylic-based adhesives offer excellent clarity, good UV resistance, and stable adhesion across a wide temperature range. They’re the standard choice for films that stay on surfaces for weeks or months.
Hot melt pressure-sensitive adhesives (PSAs) are applied as a melt coating and are common in high-volume production. They bond quickly on contact and are generally easier to process at line speed.
The adhesive must be designed to provide enough tack to stay put during handling and fabrication, but clean removal without residue when the film comes off. Getting that balance right is one of the trickier parts of the formulation process.
Additives and Masterbatches
Raw polyethylene resin alone doesn’t have the UV stability, anti-static properties, or color coding that many applications need. Manufacturers blend in masterbatches, which are concentrated mixes of additives like:
- UV stabilizers to prevent degradation during outdoor storage
- Anti-static agents to reduce dust attraction on electronics or painted surfaces
- Slip agents to improve handling and winding behavior
- Colorants for product differentiation (blue, black, and clear are most common)
Step-by-Step: The Protective Film Manufacturing Process
Here is a breakdown of the main stages in surface protection film production, from resin to roll.
Step 1: Compounding and Resin Preparation
Before extrusion begins, the base resin is blended with the required masterbatches in precise ratios. This is done using gravimetric dosing systems that weigh each component in real time to maintain consistency batch to batch.
The mixed resin is then fed into a hopper dryer to remove any moisture, which is critical. Even small amounts of moisture in the resin can cause bubbles or streaks in the film, leading to rejects.
Step 2: Extrusion and Film Formation
The prepared resin blend is fed into a single or multi-layer extruder. Inside the extruder, a rotating screw melts the material under heat (typically between 160°C and 230°C depending on the resin) and pressure, then pushes it through a flat die or an annular die.
Blown film extrusion is widely used for protective film production. The melted polymer exits through a circular die as a tube, which is then inflated with air to form a bubble. As the bubble rises, it cools and is flattened between nip rollers into a flat film. This process allows excellent control over film thickness uniformity and lets manufacturers produce films with good machine-direction and cross-direction strength balance.
Cast film extrusion is the other major method. Here, the melt exits through a flat slit die and is immediately quenched on a chill roll. Cast films tend to have better optical clarity and tighter thickness tolerances, making them suitable for precision applications like electronics protection.
Step 3: Adhesive Coating
Once the base film is formed, the adhesive layer is applied. The two most common coating methods are:
Solvent-based coating: The adhesive is dissolved in a solvent, coated onto the film using a comma bar or gravure roll coater, and then passed through a drying oven to evaporate the solvent. This method offers very consistent coating weight and is good for thin, precise adhesive layers.
Hot melt coating: The adhesive is melted and applied directly to the film surface through a slot die at high temperature. This method is solvent-free, which makes it more environmentally favorable, and it runs at higher line speeds.
Coating weight is measured continuously during production, usually via infrared sensors or gravimetric checks. Too little adhesive and the film won’t stay on the surface; too much and it may leave residue on removal.
Step 4: Lamination (for Multi-Layer Films)
Some protective films are multi-layer constructions, where a carrier film is laminated to a backing or liner. This is common in self-adhesive laminate rolls where the adhesive-coated film needs a release liner to be wound without sticking to itself.
The release liner, usually a silicone-treated paper or polyester film, is fed in and laminated to the adhesive surface under controlled nip pressure. The bond between liner and adhesive needs to be strong enough to prevent delamination in transit but easy enough to peel cleanly during application.
Step 5: Slitting
The wide master roll coming off the extrusion or coating line, typically 1 to 3 meters wide, is then slit into the specific widths that customers need. This is done on a slitter-rewinder machine using razor blades or shear-cut knives.
Slitting is more precise than it sounds. Edge quality matters because a poorly slit edge can cause the film to telescope on the roll or make application uneven. Tension control during rewinding also affects whether the finished roll is tight and uniform, or loose and distorted.
Step 6: Quality Inspection and Testing
Before any roll leaves the production floor, it goes through a battery of checks. Standard quality tests in surface protection film production include:
- Thickness measurement (using contact gauges or non-contact laser systems)
- Peel adhesion test to measure how firmly the film bonds to a standard steel plate at specified angles (90° and 180° peel)
- Tack test to evaluate initial grab
- Elongation and tensile strength to confirm the film won’t break during application
- Residue test where the film is applied to a test surface, aged, and removed to check for any adhesive transfer
- Optical clarity checks for films used on painted or polished surfaces
For outdoor applications, UV weathering tests simulate extended sun exposure to make sure the film won’t degrade, yellow, or become difficult to remove after months on a surface.
Step 7: Winding, Labeling, and Dispatch
Finished rolls are wound to specified outer diameters, weighed, labeled with product specifications, and wrapped for dispatch. Good winding tension control is important here. A roll wound too tightly can cause the film to neck or develop wrinkles; wound too loosely and it may soften at the edges during storage.
How Does Material Choice Affect the Final Product?
The decisions made at the raw material stage show up directly in how the film performs on the job. Here are the main trade-offs.
Film thickness vs. conformability: Thicker films (100 microns and above) offer better puncture resistance during fabrication or transport. Thinner films (25 to 50 microns) conform more easily to curved surfaces but offer less mechanical protection.
Adhesive level: Low-tack adhesives are used for delicate surfaces like painted panels, pre-coated metals, and anodized aluminum. Medium and high-tack formulations are chosen for rougher or more textured substrates where the film needs to grip firmly.
Clear vs. colored films: Clear films let operators see the surface below for quality inspection during fabrication. Colored or opaque films are used where surface visibility isn’t needed and where product identification or UV blocking matters more.
What Protekta Makes and Why the Process Matters
Protekta, operating from Bhiwadi, Rajasthan and backed by over 40 years of manufacturing experience through its parent company Girdhar Roll Wrap, produces surface protection films designed for real industrial conditions.
Their Protekta Guard range covers surface protection film for metal, glass, plastic, and other substrate types. The Protekta Bond ACP and Protekta Bond APP films are designed specifically for aluminum composite panels and aluminum partition panels respectively, where scratch-free handling during fabrication and installation is non-negotiable.
Understanding the manufacturing process gives buyers a clearer picture of what questions to ask when evaluating a protective film manufacturer. What resin grade is being used? How is adhesive weight controlled? What tests does every roll go through before it ships? These are the questions that separate a reliable product from one that fails mid-project.
FAQs: Protective Film Manufacturing Process
1. What is the most common base material used in protective film manufacturing?
The most common base material is polyethylene (PE), specifically LDPE or LLDPE. These resins offer a good balance of flexibility, clarity, and adhesion compatibility. Some specialty films use polypropylene or multi-layer combinations for added strength or temperature resistance.
2. How is adhesive applied to a protective film during production?
Adhesive is applied either via solvent-based coating, where it’s diluted in solvent and dried in an oven, or via hot melt coating, where the adhesive is melted and applied directly through a slot die. Both methods are calibrated to deliver a consistent coating weight across the full film width.
3. What quality tests should a good protective film pass before leaving the factory?
A properly tested protective film should pass peel adhesion tests, tack tests, thickness measurement, tensile and elongation tests, and residue tests. For outdoor-use films, UV weathering performance is also evaluated to confirm the film won’t degrade or become hard to remove after extended sun exposure.
4. Why do protective films sometimes leave residue on surfaces?
Residue is typically caused by an adhesive that was too aggressive for the surface, a film left on too long beyond its intended lifespan, or adhesive degradation from heat or UV exposure. Choosing the right adhesive tack level for the specific substrate and application duration is the primary way to avoid this problem.
5. How do I choose the right protective film for my application?
Start with the substrate type (metal, glass, painted, anodized), the level of mechanical risk (light storage vs. active fabrication), and how long the film needs to stay on. Then consider whether optical clarity matters for in-process inspection. A reputable protective film manufacturer like Protekta can guide you to the right specification for your specific use case.